
How to check garment seam construction online
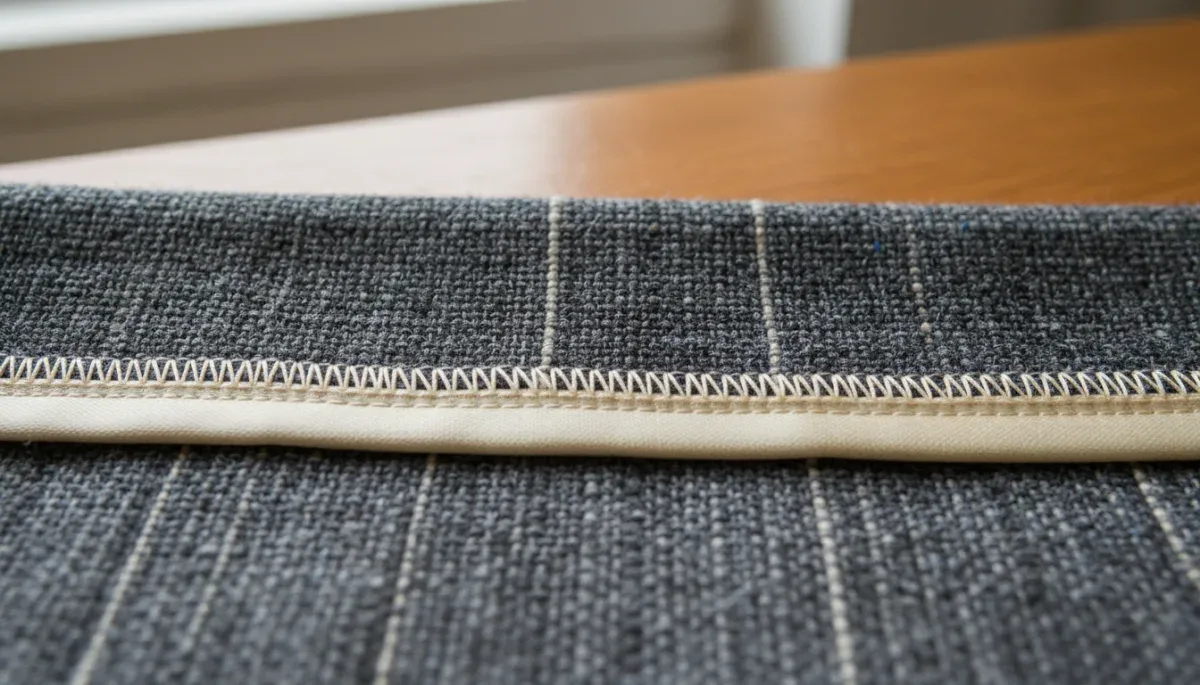
Advertisements
You can check garment seam construction before ordering clothes online by magnifying product photos to evaluate stitch density, inspecting customer review images for internal finishing, and checking stress points such as armholes and crotches for signs of tension pulling. This approach helps online shoppers identify durable apparel without handling the piece in person, though it requires patience when storefronts provide low-resolution product imagery.
Seams hold fabric panels together and bear the mechanical tension of daily body movement, washing, and friction. When a seam fails, the entire garment unravels or loses its structural shape. Retail photography often obscures poor stitching with dynamic poses, dramatic lighting, and digital smoothing, making it essential to know specific visual markers of seam integrity before completing a purchase.
Zooming in on product photos for stitch density and tension
The first indicator of solid garment seam construction is stitch density, which refers to the number of stitches per inch along a single seam line. When retailers provide high-resolution images, use the on-site zoom tool to inspect the outer seams along shoulders, waistbands, and side panels. High-quality everyday woven garments generally feature between ten and twelve stitches per inch, whereas rushed production runs often feature six to eight widely spaced stitches.
Advertisements
Thread tension is equally critical when evaluating garment durability through a screen. When thread tension is adjusted incorrectly on an industrial sewing machine, the seam exhibits visible loops or puckers. If you see tiny gaps between joined fabric panels where the thread is pulled taut, known in the textile trade as seam grin, the seam will likely separate under slight pressure.
Advertisements
Visual markers of poor stitch tension
- Thread loops standing proud of the fabric surface instead of lying flat.
- Seam grin, where the joining thread shows visibly on the outside of a flat seam.
- Wavy or uneven stitch paths that deviate from straight fabric grainlines.
- Missed or skipped stitches where the machine needle failed to lock threads.
Identifying common seam types and their intended uses
Manufacturers use distinct seam styles depending on the fabric weight, garment silhouette, and target price point. Knowing which seam belongs on a specific garment helps you determine if the manufacturer took shortcuts during production. For example, heavy woven fabrics like denim and canvas require reinforced joints, whereas lightweight knits require flexible, elastic seams that stretch with body movement.
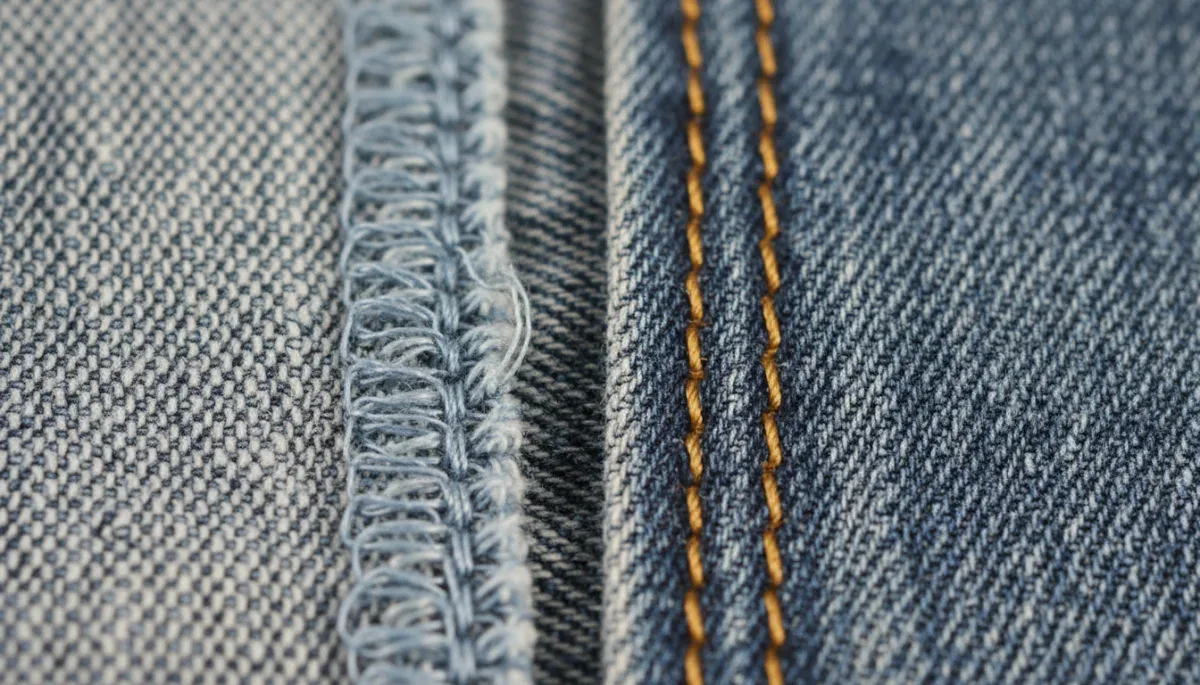
A flat-felled seam encloses raw fabric edges completely inside two parallel rows of exterior stitching. This style is standard on quality jeans and utility shirts because it resists high shear force and prevents fraying. In contrast, an overlocked or serged seam binds the edge with looping threads on the inside. While serging is standard and effective for knit t-shirts and activewear, single-needle overlock seams on structured woven blazers or trousers often unravel quickly after minimal wear.
Standard seam categories in retail clothing
- Flat-felled seams: Fully enclosed, double-stitched seams built for high durability on denim, workwear, and button-up shirts.
- French seams: Delicate, fully enclosed interior seams found in high-grade silk, chiffon, and lightweight dresses.
- Overlock or serged seams: Looped-thread edge finishes that allow stretch in knit fabrics like t-shirts and leggings.
- Bound seams: Raw edges wrapped in a bias strip of fabric, commonly used inside unlined jackets and coats.
Spotting seam puckering and tension flaws in listing images
Seam puckering occurs when the fabric gathers, ripples, or bunches irregularly along the line of stitching. This defect usually stems from mismatched feed dog rates, improper needle sizes, or incompatible thread shrinkage properties. When browsing product listings, look closely at flat-lay and model images for unintentional ripples along side seams, hem lines, and neckline collars.
Puckering is particularly common on synthetic fabrics such as polyester satin, nylon, and rayon blends. If an image shows a satin slip dress with wavy, bumpy side seams that do not hang straight, the garment has structural tension flaws that pressing or ironing cannot permanently fix. Quality construction ensures that fabric lies completely smooth on both sides of the stitch line.
You should also observe whether the hem sits level or curls upward. A curled hem indicates that the tension on the lower bobbin thread was set too tight during manufacturing. Over time, washing causes this tension imbalance to worsen, leading to permanently distorted hems.
Using customer review photos to inspect interior seams
Retail product images almost never display the inside of a garment, where manufacturing flaws are easiest to spot. Customer photo reviews are the most reliable tool for evaluating interior garment seam construction because buyers often photograph loose threads, unclipped chain stitches, and raw unraveling edges.
Look specifically for customer images showing garments turned inside out or hanging loosely over a chair. Check whether the interior seam allowances are generous or cut extremely close to the stitch line. A seam allowance under one-quarter inch leaves almost no margin to withstand strain, meaning the fabric weave will pull out from the stitches after minimal laundering.
What to search for in buyer photos
- Unfinished raw fabric edges fraying past the serging line.
- Loose, dangling thread tails that have not been back-tacked or knotted.
- Irregular seam allowance widths that narrow dangerously near curved joints.
- Lining fabrics that pull or distort the outer shell due to poor interior anchoring.
Checking seam placement around high-stress garment zones
Garments experience uneven mechanical stress across different anatomical zones. The highest stress points include underarm gussets, armscyes, the crotch curve of pants, pocket openings, and the base of zipper insertions. When checking an online listing, examine how the maker structured these specific intersections.
At pocket corners and zipper bases, quality manufacturers apply bar tacks, which are tight, dense zig-zag reinforcement stitches designed to absorb pulling force. If a listing shows a pair of pants with patch pockets secured only by a single row of straight stitching without triangular or bar-tack reinforcement, the pocket seam will likely tear the fabric upon first use.
For trousers and shorts, verify that the crotch seam intersects cleanly with a four-way cross or an offset junction that reinforces the curve. If the fabric around the crotch displays diagonal pull lines even on a static model, the seam curve was cut too shallowly, which concentrates all tension directly onto the center seam thread.
Evaluating pattern matching across structural seams
Pattern matching across seams is a direct indicator of manufacturing discipline and cutting precision. When garments feature stripes, plaids, checks, or large floral repeats, aligning those patterns across side seams, center-back seams, and pocket attachments requires extra fabric and deliberate manual alignment during the cutting phase.
If a product photo shows a striped shirt where horizontal lines abruptly jump up or down by half an inch at the side seam, the garment was mass-cut with little regard for alignment. While misaligned patterns do not always mean a seam will snap immediately, the lack of precision during cutting strongly correlates with poor stitch quality, improper thread tension, and rushed assembly line work.
Check the center-front placket of button-down shirts, the connection between sleeves and the torso, and the horizontal alignment around the waistline of two-piece sets. Seamless alignment across these structural breaks demonstrates that the manufacturer invested time and material into the garment's build quality.
At a glance
| Evaluation factor | What to check in listing images |
|---|---|
| Stitch density | Count stitches per inch on zoom to verify tight, even spacing. |
| Seam puckering | Look for unwanted fabric rippling along vertical side seams and hems. |
| Interior finishing | Search user reviews for wide seam allowances and clean edge overcasting. |
| Stress-point reinforcement | Confirm bar tacks or double stitching at pocket corners and zipper bases. |
Frequently asked questions
Can you fix poor seam construction after receiving an order?
Minor loose threads can be tied off and trimmed, but structural flaws like seam grin, puckering from tight tension, or narrow seam allowances cannot be easily corrected without completely deconstructing and resewing the garment.
Why do some seams pull apart even if the thread does not break?
This happens when the stitch density is too low or the seam allowance is too narrow, causing the raw fabric yarns to slip out from under the thread under moderate tension, a defect known as seam slippage.
Are overlocked seams a sign of low clothing quality?
No, overlocked seams are the industry standard for stretchy knit fabrics like t-shirts and leggings. However, for structured, high-friction woven garments like wool coats or trousers, unlined single overlock seams indicate cheaper construction.
How do you inspect dark clothing seams in online photos?
Dark fabrics hide stitch details, so turn up your screen brightness and look at highlighted angles where studio lights catch the seam edge, or check customer review photos taken in natural daylight.
The bottom line
Checking garment seam construction through digital product images and customer review galleries prevents you from spending money on apparel that unravels or loses shape after a single wear. Focus on stitch density, look for puckering along long seams, confirm reinforcement at pocket corners, and inspect buyer photos for interior finishing. Before placing your order, always confirm the retailer's return policy and return shipping fees so you have a clear exit path if the physical stitching does not match the product listing.

Written by
Lucas Bastos
Lucas Bastos covers electronics and gadgets for S2YOU, from audio, smart-home and phone accessories to product-testing programs for tech. He compares specs, prices and return policies across retailers, and checks every detail on the brand's official site before publishing.